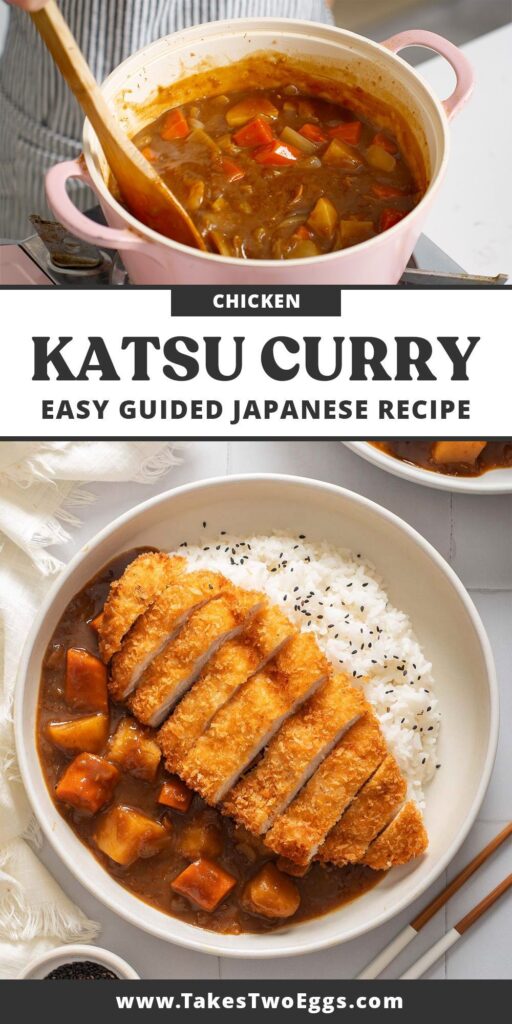
Craving that crispy, golden chicken katsu smothered in a rich, aromatic curry sauce? This homemade version is easier than you think, and it tastes even better than takeout. With a perfectly crunchy panko crust and a deeply savory sauce, it's a weeknight dinner that feels like a special occasion.
Advertisements1
My version uses simple pantry ingredients but delivers big umami flavor. The curry sauce is made from scratch with curry powder, garam masala, and a touch of honey, and it comes together in just 30 minutes. Paired with steamed rice and a crisp side salad, it's a complete and satisfying meal.
Whether you're a katsu curry veteran or trying it for the first time, this recipe is foolproof. I'll guide you through every step, from pounding the chicken to achieving that perfect crunch. Let's get cooking!
Why You'll Love This Recipe
About the Ingredients
4 boneless, skinless chicken breasts (about 1.5 lbs/680g)
Pound to an even 1/2-inch thickness for quick, even cooking. If you prefer, use chicken thighs for extra juiciness.
1 cup (120g) all-purpose flour
For dredging. You can use gluten-free flour if needed.
2 large eggs, beaten
The egg wash helps the panko stick. For a crispier crust, add a tablespoon of water to thin it.
1 1/2 cups (70g) panko breadcrumbs
Panko gives the crispiest texture. If you only have regular breadcrumbs, toast them in a dry pan first for extra crunch.
1/2 cup (60g) all-purpose flour (for sauce)
Used to make the roux for thickening the curry sauce.
2 tablespoons (30g) unsalted butter
For the roux. You can substitute with oil or margarine for a dairy-free version.
1 medium onion, finely chopped
Adds sweetness and depth. Use a sweet onion like Vidalia for a milder flavor.
2 cloves garlic, minced
Fresh garlic is best, but 1/2 teaspoon of garlic powder can work in a pinch.
1 tablespoon curry powder
Use a good-quality Japanese curry powder (like S&B) for authentic flavor. If you only have mild curry powder, add a pinch of cayenne for heat.
1 teaspoon garam masala
Adds warm, aromatic spice. You can omit if you don't have it, but it really elevates the sauce.
2 cups (480ml) chicken broth
Use low-sodium to control salt. Vegetable broth works for a vegetarian version.
1 tablespoon honey
Balances the spices with a touch of sweetness. Substitute with brown sugar or maple syrup.
2 tablespoons soy sauce
Adds umami. Use tamari for gluten-free.
1 tablespoon ketchup
A secret ingredient for depth and color. You can omit if you prefer.
Salt and pepper to taste
Season the chicken and the sauce. Use kosher salt for better control.
Vegetable oil for frying
Use a neutral oil with a high smoke point, like canola or peanut oil.
Steamed rice and pickled vegetables, for serving
Short-grain Japanese rice is ideal. For the pickles, try sliced cucumbers with rice vinegar.
Tips & Tricks
Pound the chicken evenly
This ensures even cooking and a perfect crust. Place the chicken between plastic wrap and pound to 1/2-inch thickness.
Fry in batches
Don't overcrowd the pan. Fry the cutlets in batches to maintain the oil temperature and get a crisp, golden crust.
Keep the sauce warm
If making ahead, keep the sauce warm on low heat, stirring occasionally. It will thicken as it sits, so add a splash of broth if needed.
Pro Tips
Step-by-Step Instructions
1. Pound the chicken
Place each chicken breast between two pieces of plastic wrap and pound to an even 1/2-inch (1.25 cm) thickness. Season both sides with salt and pepper.
2. Set up dredging station
Place the flour, beaten eggs, and panko in three separate shallow dishes. Line a plate with paper towels.
3. Coat the chicken
Dredge each chicken piece in flour, shaking off excess. Dip in egg, then press into panko, ensuring an even coating. Set aside on a plate.
4. Fry the katsu
Heat about 1/2 inch (1.25 cm) of vegetable oil in a large skillet over medium-high heat until it reaches 350°F (175°C). Fry the chicken in batches for 3-4 minutes per side, until golden brown and cooked through (internal temperature 165°F / 74°C). Drain on paper towels.
5. Make the roux
In a separate saucepan, melt the butter over medium heat. Add the flour and whisk constantly for 2 minutes, until it turns a light golden color.
6. Sauté aromatics
Add the onion and garlic to the roux and cook for 3-4 minutes, until softened and fragrant.
7. Add spices and liquids
Stir in the curry powder and garam masala, cooking for 1 minute. Gradually whisk in the chicken broth, honey, soy sauce, and ketchup. Bring to a simmer.
8. Simmer the sauce
Reduce heat to low and let the sauce simmer for 10-15 minutes, stirring occasionally, until thickened and flavorful. Season with salt and pepper to taste.
9. Serve
Slice the katsu into strips and serve over steamed rice with the curry sauce spooned on top. Add pickled vegetables on the side.
Delicious Variations
Vegetarian Katsu
Replace the chicken with thick slices of eggplant or tofu. Coat and fry the same way, and use vegetable broth in the sauce.
Spicy Katsu Curry
Add 1-2 teaspoons of sriracha or a pinch of cayenne pepper to the sauce for extra heat.
Chicken Katsu Curry with Coconut Milk
Stir in 1/2 cup (120ml) of coconut milk at the end for a creamier, slightly sweet sauce.
How to Store Homemade Katsu Curry
Refrigerator
Store leftover katsu and sauce separately in airtight containers for up to 3 days.
Freezer
Freeze the cooked katsu (without sauce) in a single layer on a baking sheet, then transfer to a freezer bag for up to 2 months. The sauce can also be frozen for up to 3 months.
Reheating
Reheat the katsu in a 375°F (190°C) oven for 10 minutes to restore crispiness. Reheat the sauce in a saucepan over medium heat, adding a splash of broth if too thick.
Frequently Asked Questions
Q: What is the best oil for frying katsu?
The best oil for frying katsu is a neutral oil with a high smoke point, such as canola, peanut, or vegetable oil. These oils can withstand the high heat without burning and won't impart a strong flavor to the chicken.
Q: Can I make katsu curry ahead of time?
Yes, you can make both the chicken and the curry sauce ahead of time. Store them separately in the refrigerator for up to 3 days, and reheat the chicken in the oven to maintain crispiness.
Q: How do I keep the katsu crispy?
To keep the katsu crispy, avoid covering it immediately after frying, as steam will make the crust soggy. Place it on a wire rack to cool, and if serving with sauce, pour the sauce over just before eating.
Q: What can I use instead of panko breadcrumbs?
If you don't have panko, you can use regular breadcrumbs, but they won't be as crispy. For a gluten-free option, use crushed cornflakes or gluten-free panko. Toast regular breadcrumbs in a dry pan for extra crunch.
Q: Can I use chicken thighs instead of breasts?
Yes, chicken thighs work well and are more forgiving if you overcook them slightly. They have more fat, which keeps them juicy. Just make sure to pound them to an even thickness.
I hope you enjoy this homemade katsu curry as much as my family does! If you try it, leave a comment below and let me know how it turned out. Don't forget to share your photos on social media and tag me — I'd love to see your creations!
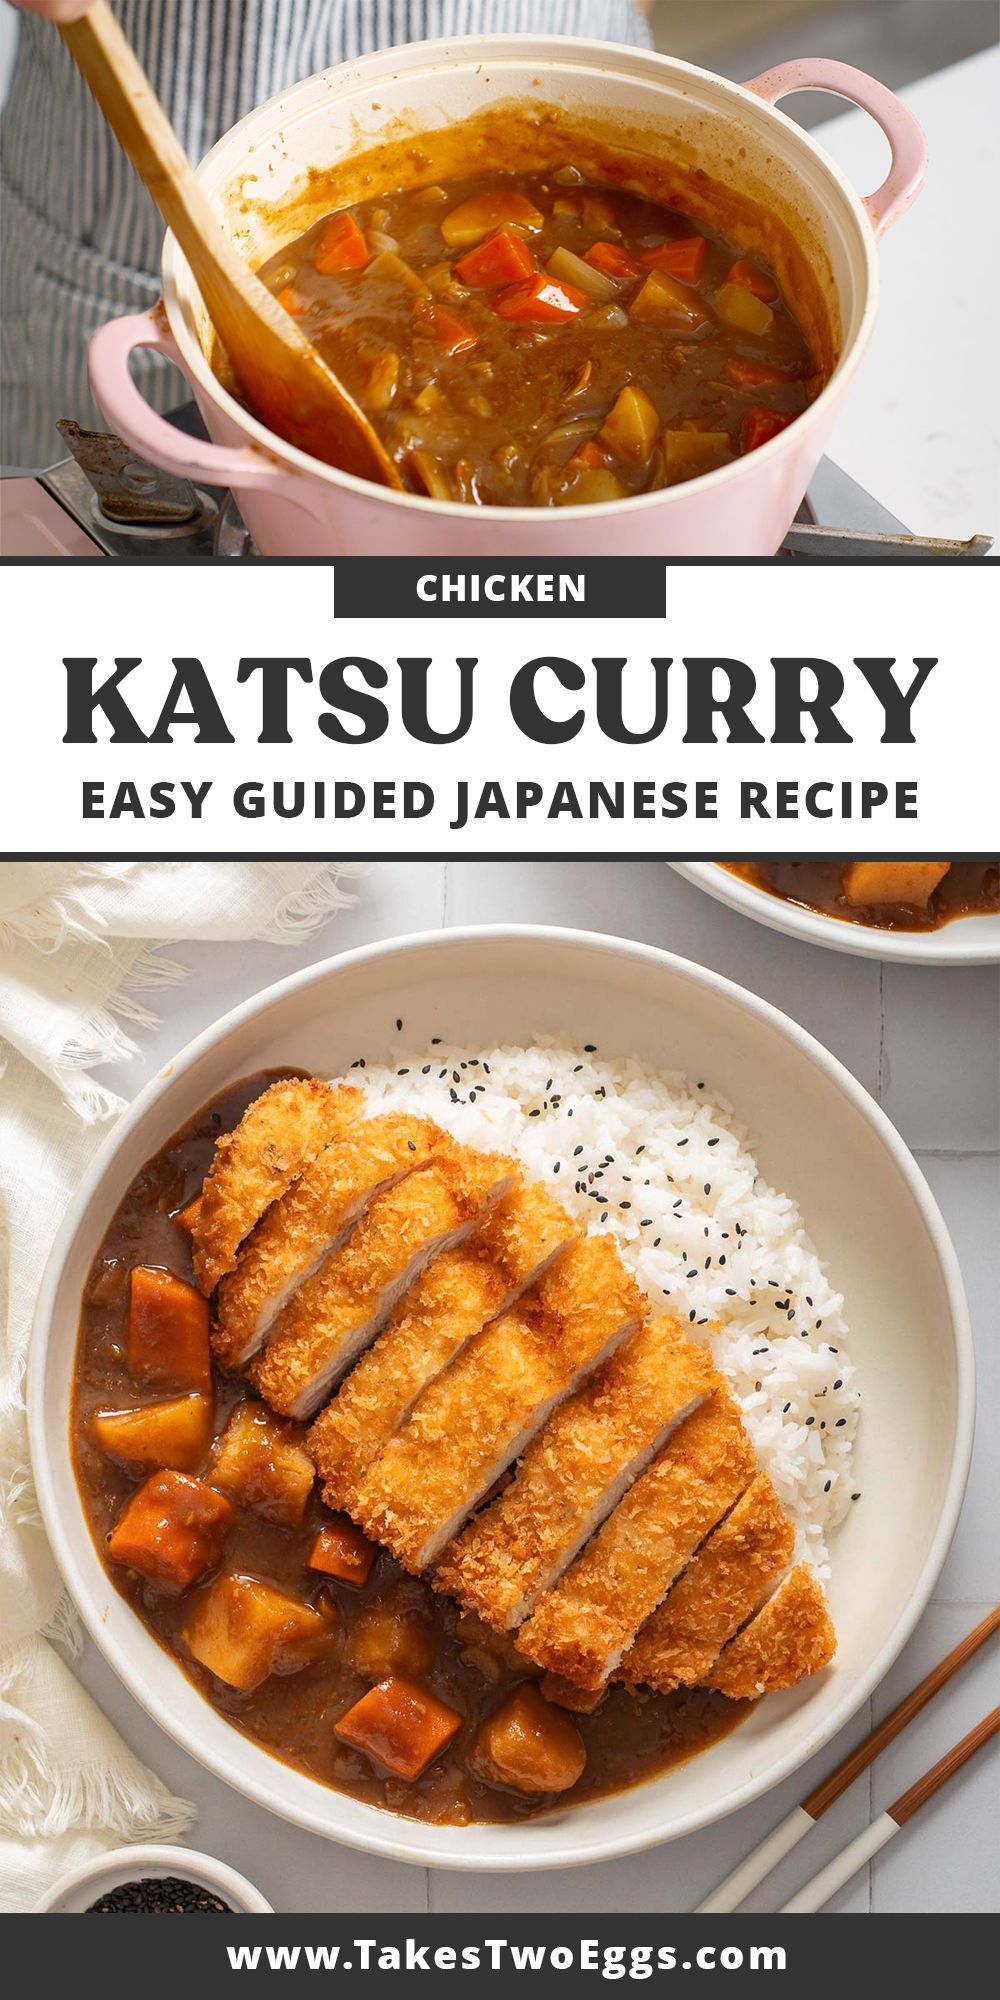
Homemade Katsu Curry
Juicy panko-crusted chicken cutlets in a rich, savory Japanese curry sauce. This homemade katsu curry is a comforting, restaurant-quality meal you can make in 45 minutes.
🧂 Ingredients
- 4 boneless, skinless chicken breasts (about 1.5 lbs/680g)
- 1 cup (120g) all-purpose flour
- 2 large eggs, beaten
- 1 1/2 cups (70g) panko breadcrumbs
- 1/2 cup (60g) all-purpose flour (for sauce)
- 2 tablespoons (30g) unsalted butter
- 1 medium onion, finely chopped
- 2 cloves garlic, minced
- 1 tablespoon curry powder
- 1 teaspoon garam masala
- 2 cups (480ml) chicken broth
- 1 tablespoon honey
- 2 tablespoons soy sauce
- 1 tablespoon ketchup
- Salt and pepper to taste
- Vegetable oil for frying
- Steamed rice and pickled vegetables, for serving
📋 Instructions
- 1Pound the chicken — Place each chicken breast between two pieces of plastic wrap and pound to an even 1/2-inch (1.25 cm) thickness. Season both sides with salt and pepper.
- 2Set up dredging station — Place the flour, beaten eggs, and panko in three separate shallow dishes. Line a plate with paper towels.
- 3Coat the chicken — Dredge each chicken piece in flour, shaking off excess. Dip in egg, then press into panko, ensuring an even coating. Set aside on a plate.
- 4Fry the katsu — Heat about 1/2 inch (1.25 cm) of vegetable oil in a large skillet over medium-high heat until it reaches 350°F (175°C). Fry the chicken in batches for 3-4 minutes per side, until golden brown and cooked through (internal temperature 165°F / 74°C). Drain on paper towels.
- 5Make the roux — In a separate saucepan, melt the butter over medium heat. Add the flour and whisk constantly for 2 minutes, until it turns a light golden color.
- 6Sauté aromatics — Add the onion and garlic to the roux and cook for 3-4 minutes, until softened and fragrant.
- 7Add spices and liquids — Stir in the curry powder and garam masala, cooking for 1 minute. Gradually whisk in the chicken broth, honey, soy sauce, and ketchup. Bring to a simmer.
- 8Simmer the sauce — Reduce heat to low and let the sauce simmer for 10-15 minutes, stirring occasionally, until thickened and flavorful. Season with salt and pepper to taste.
- 9Serve — Slice the katsu into strips and serve over steamed rice with the curry sauce spooned on top. Add pickled vegetables on the side.