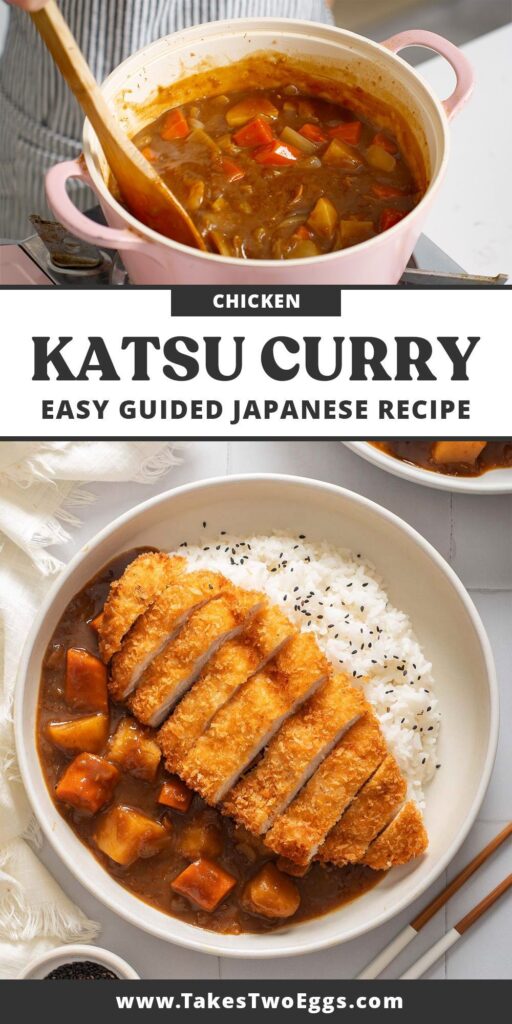
There's something magical about the first bite of katsu curry: the shattering crunch of the golden panko crust, the juicy chicken inside, and that deeply savory, slightly sweet curry sauce that coats everything. It's the ultimate comfort food, and now you can make it at home with this foolproof recipe.
Advertisements1
Forget takeout – this homemade version is fresher, more flavorful, and surprisingly simple. We'll walk you through creating the perfect crispy katsu and a rich, aromatic curry sauce from scratch, using pantry-friendly ingredients. It's a weeknight dinner that feels like a special occasion.
Why You'll Love This Recipe
About the Ingredients
4 boneless, skinless chicken breasts (about 1.5 lbs / 680g)
Pound to even thickness for quick, even cooking. If you prefer, use chicken thighs for extra juiciness.
1 cup (120g) all-purpose flour
For dredging. Gluten-free flour blend works too.
2 large eggs, beaten
The glue for the panko. Add a splash of water if needed.
2 cups (100g) panko breadcrumbs
Japanese-style breadcrumbs give the crispiest texture. Regular breadcrumbs work in a pinch.
1 teaspoon salt
For seasoning the chicken.
1/2 teaspoon black pepper
Freshly ground is best.
1 tablespoon neutral oil (like canola or vegetable)
For frying the chicken. Use a high smoke point oil.
1 onion, thinly sliced
Yellow or sweet onion. Slice thinly for even cooking.
1 carrot, peeled and cut into chunks
Adds natural sweetness to the sauce.
3 cups (720ml) chicken broth
Low-sodium preferred. Vegetable broth works for a vegetarian version.
1 tablespoon curry powder
Mild or hot. Garam masala can be substituted for a different flavor profile.
1 tablespoon honey
Balances the curry. Maple syrup or brown sugar can be used.
2 tablespoons soy sauce
Adds umami. Tamari for gluten-free.
2 tablespoons cornstarch mixed with 3 tablespoons water (slurry)
Thickens the sauce. You can also use flour.
Cooked rice, for serving
Short-grain Japanese rice is ideal, but any rice works.
Tips & Tricks
- Pound the chicken to an even 1/2-inch thickness to ensure it cooks through without drying out.
- Use a meat thermometer to check the internal temperature reaches 165°F (74°C) for perfectly juicy chicken.
- Don't overcrowd the pan when frying – work in batches to keep the oil temperature steady and the crust crispy.
- Let the fried chicken rest on a wire rack for a few minutes before slicing to keep the crust intact.
Pro Tips
Step-by-Step Instructions
1. Prepare the chicken
Place chicken breasts between two sheets of plastic wrap and pound to 1/2-inch thickness. Season both sides with salt and pepper.
2. Set up breading station
Place flour in a shallow dish, beaten eggs in another, and panko in a third. Dredge each chicken piece in flour, then egg, then panko, pressing gently to adhere. For extra crispiness, repeat the egg and panko steps.
3. Fry the katsu
Heat oil in a large skillet over medium-high heat until shimmering (about 350°F / 175°C). Fry chicken in batches for 3-4 minutes per side, until golden brown and cooked through (internal temp 165°F / 74°C). Drain on a wire rack.
4. Sauté the vegetables
In a separate pot, sauté onion and carrot over medium heat until softened, about 5 minutes.
5. Make the curry sauce
Add curry powder and stir for 1 minute until fragrant. Pour in chicken broth, honey, and soy sauce. Bring to a boil, then reduce heat and simmer for 10 minutes.
6. Thicken the sauce
Whisk in the cornstarch slurry and simmer for 2-3 minutes until the sauce thickens. Season with salt if needed.
7. Slice and serve
Slice the katsu into strips. Serve over steamed rice with the curry sauce poured generously on top.
Delicious Variations
Vegetarian
Use firm tofu or a breaded portobello mushroom instead of chicken.
Spicy
Add 1 teaspoon of chili flakes or sriracha to the curry sauce.
Pork Katsu
Swap chicken for pork cutlets – just ensure they are pounded thin and cook to 145°F (63°C) for pork.
How to Store Homemade Katsu Curry
Refrigerator
Store leftover katsu and curry separately in airtight containers for up to 3 days.
Freezer
Freeze the curry sauce for up to 3 months. For the katsu, freeze cooked and cooled cutlets in a single layer, then transfer to a bag – reheat in the oven to restore crispiness.
Reheating
Reheat the curry in a saucepan over medium heat, adding a splash of broth if too thick. Reheat katsu in a 375°F (190°C) oven for 10 minutes to crisp up.
Frequently Asked Questions
Q: What is katsu curry?
Katsu curry is a Japanese dish consisting of a breaded, fried cutlet (usually chicken or pork) served with a thick, savory curry sauce over rice. It's a popular comfort food in Japan and worldwide.
Q: Can I make katsu curry ahead of time?
Yes, you can make the curry sauce up to 3 days ahead and the chicken can be breaded and refrigerated for a few hours before frying. For best results, fry the chicken fresh.
Q: What can I use instead of panko breadcrumbs?
If you don't have panko, you can use regular breadcrumbs, crushed cornflakes, or even crushed crackers for a different texture. Panko gives the crispiest result, though.
Q: How do I keep the katsu crispy?
To keep katsu crispy, avoid covering it with sauce until serving. Store it separately and reheat in the oven on a wire rack to allow air circulation.
Q: Is katsu curry gluten-free?
Traditional katsu curry is not gluten-free due to flour and soy sauce, but you can make it gluten-free by using gluten-free flour, tamari, and ensuring your curry powder is gluten-free.
I hope you enjoy this homemade katsu curry as much as my family does! If you try it, leave a comment below and let me know how it turned out. Don't forget to share your photos on social media and tag me – I'd love to see your creations!
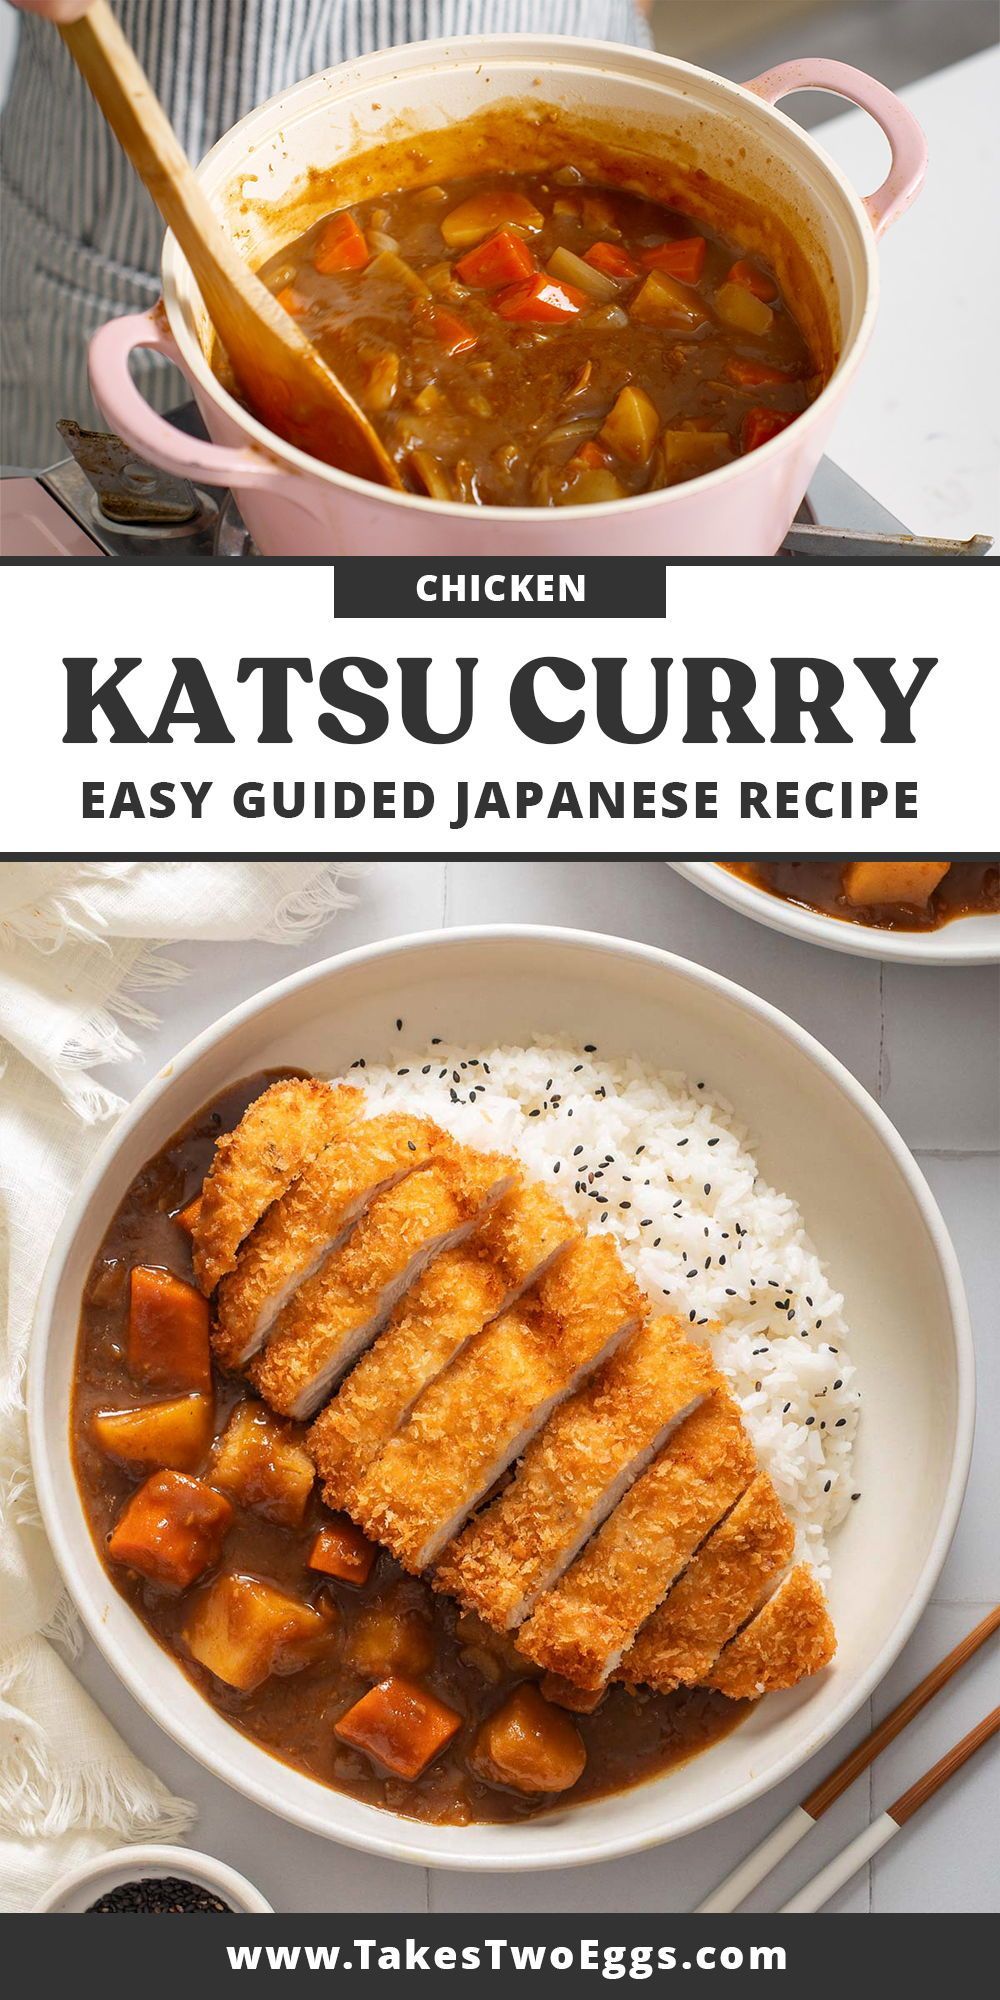
Homemade Katsu Curry
Crispy panko-breaded chicken cutlets smothered in a rich, savory Japanese curry sauce. This homemade katsu curry is a comforting, restaurant-quality meal that's surprisingly easy to make.
🧂 Ingredients
- 4 boneless, skinless chicken breasts (about 1.5 lbs / 680g)
- 1 cup (120g) all-purpose flour
- 2 large eggs, beaten
- 2 cups (100g) panko breadcrumbs
- 1 teaspoon salt
- 1/2 teaspoon black pepper
- 1 tablespoon neutral oil (like canola or vegetable)
- 1 onion, thinly sliced
- 1 carrot, peeled and cut into chunks
- 3 cups (720ml) chicken broth
- 1 tablespoon curry powder
- 1 tablespoon honey
- 2 tablespoons soy sauce
- 2 tablespoons cornstarch mixed with 3 tablespoons water (slurry)
- Cooked rice, for serving
📋 Instructions
- 1Prepare the chicken — Place chicken breasts between two sheets of plastic wrap and pound to 1/2-inch thickness. Season both sides with salt and pepper.
- 2Set up breading station — Place flour in a shallow dish, beaten eggs in another, and panko in a third. Dredge each chicken piece in flour, then egg, then panko, pressing gently to adhere. For extra crispiness, repeat the egg and panko steps.
- 3Fry the katsu — Heat oil in a large skillet over medium-high heat until shimmering (about 350°F / 175°C). Fry chicken in batches for 3-4 minutes per side, until golden brown and cooked through (internal temp 165°F / 74°C). Drain on a wire rack.
- 4Sauté the vegetables — In a separate pot, sauté onion and carrot over medium heat until softened, about 5 minutes.
- 5Make the curry sauce — Add curry powder and stir for 1 minute until fragrant. Pour in chicken broth, honey, and soy sauce. Bring to a boil, then reduce heat and simmer for 10 minutes.
- 6Thicken the sauce — Whisk in the cornstarch slurry and simmer for 2-3 minutes until the sauce thickens. Season with salt if needed.
- 7Slice and serve — Slice the katsu into strips. Serve over steamed rice with the curry sauce poured generously on top.